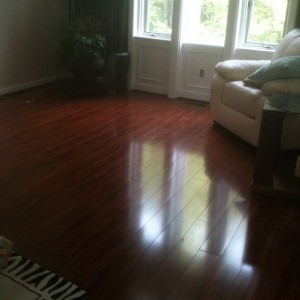
This weekend, we had hardwood floor installed in our formal living room. It had a very expensive, but a very ugly carpet for a floor. After a long, hard deliberation which lasted for over 3 months, we finally decided to go for changing to hardwood floor. Much as we would have liked to keep it on, especially as it was of a very expensive kind, we just could not work with what we had. After shopping around extensively, we settled for something both my husband and I love.
I am totally a ‘deals’ sort of a person.I love scrimping money. I don’t compromise on quality, but if there is a deal somewhere, I will go out-of-the-way to take it. Do it yourself projects especially fascinate me. The money-saving part is of course the main motivator (lets face it – if it was free, I would be happy to sit back and let someone else do it), but it’s not the only one. I love the idea of getting involved, the pleasure of doing something that’s hard, taxing, needs involvement, and calls for ingenuity.The novelty of it is almost as exciting as the money part of it. Almost.
However, when something is new, the challenge is in figuring out how to do it. After shopping around, GG (my husband), and I found that the cost of ripping and disposing off the old carpet ran into hundreds of $$$. Depending on the area, it could even mean a few thousands. We had never done it before, but looking at the savings we would make, we decided to give it a go.
We asked around, poured over the internet and made a plan. It did seem easy. But then, most things look easy when professionals do it and show their work.
I must admit, the first 45 minutes were very difficult. As GG and I prodded and pulled, we kept thinking if it was a good idea at all. We didn’t make much progress, and we still had a good 400 sq ft of area left to do (yes, it’s a BIG room). However, we are not the kind who give up easily, so we stuck on. After the first hour, with 1/5 of the area done,we took a break. I made some hot tea, dug out some good gloves, and wore nice sturdy shoes. Then we went back to work.
This time, it was different. The carpet came out like butter off a hot knife, and the pads followed suit, not too bad themselves. I developed a new stamina for taking out stubborn nails and staples off the floor board. Plus, I had my iPhone as my constant companion, clicking away as and when I got a chance (thank you Instagram!).
So here goes the step by step process that we followed:
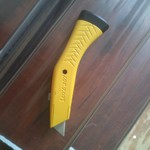
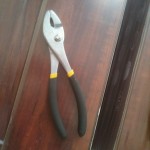
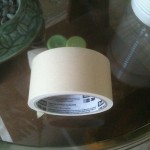
TOOLS we used: ( Add a Pry Bar, gloves and shoes to the list).
Follow the steps:
|
1 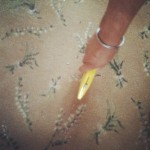 Use cutter to cut carpet into sections. Keep the sections small so that it's easy to pull them off. |
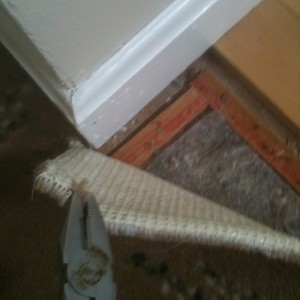
2 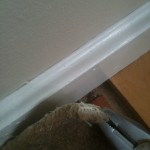 Use the pliers to lift the carpet from one corner. It will come off cleanly. Now pull the carpet towards you, away from the baseboard. |
|
3 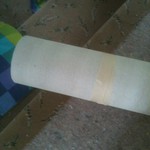 Once you have stripped the carpet off the floor, roll it and secure it with a masking tape. It will prevent the carpet from unrolling. Again, make sure to keep the sections small. |
4 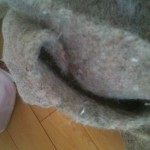 Underneath the carpet, there will be a pad. It is normally secured to the floor board with staples, so be very careful while ripping it and handling it. Often, it is full of staples, sometimes randomly. Try to tear off the pad away from you, holding a fold about 6 inches from the end where most of the staples are normally found. |
|
5 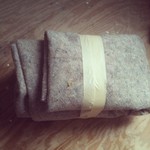 Roll the pad carefully. Make sure to fold the edges inside of the roll. Secure it with masking tape. Remove carpet and pads from your work area right away. |
6  Once the pad has come off, you will find a lot of staples and nails on the floor board. Wear shoes while working to avoid injury. |
|
7 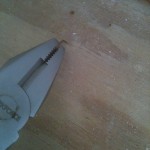 Pry the staples with pliers one at a time. For the stubborn staples, you can use the flat tipped screw driver to get underneath and hammer away at it. |
8 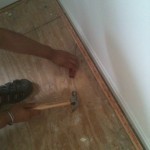 Use hammer and a pry bar to remove tack strips. My husband GG however, used a sturdy flat blade screw driver. Insert the tip of the screw driver under the tack strip, and use the hammer to hit it, forcing it to lift off. |
|
9 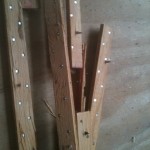 Tack strips have gazillions nails sticking out of them, so be very careful when handling them of disposing them off. |
|
10 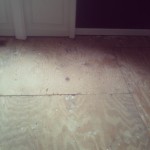 Once everything is off the floor, sweep it clean, and vaccum it. Take out any extra nails or staples. Now the floor is ready for the new carpet or hardwood floor. |
See? It wasn’t too bad. In fact, it was fun, and the team work gave an extra ‘us’ time to me and hubby. The sense of accomplishment can be an amazing Aphrodisiac.
Notes:
- Wear gloves, shoes, and safety glasses (in case of flying and jumping nails). Cutters can go dull quickly from cutting carpet, so always keep some extra cutters handy.
- Vaccum and spray the carpet with water to dampen it. This prevents mini dust storms, especially if you carpet is old.
- If you are replacing carpet with carpet, DO NOT remove the tack strips. For padding and sub flooring, check with your installer/estimator.
- If your floor has baseboard trim moulding, and it needs removal, you might want a professinal to do it for you.If you still want to give it a try, then I found a great Youtube video, from HomeAdditionplus.com, on how to remove baseboard trim moulding that you might want to take a look at.
- Sometimes the padding can be glued in. That might require some kind of solvent to dissolve. Ask your local hardware store.
- Do you know carpet can be recycled? Yes! Once you are done removing the carpet, you can recycle it. The good human blog has a very good article on this here.
If you have any other tip that might be useful here, please share. Don’t forget to leave a feedback, and if you like it, please share.

